本页介绍了move_to_spot的用法, 包含导航模式下和轨道模式下的运动到目标点的过程。
本页内容
运行环境准备
软件平台
- Visual Studio 2010 SP1
- Slamware Windows SDK:Slamware Windows SDK
- RoboStudio(用于显示地图):Robostudio installer
Sample Code:
使用更高版本的Visual Studio可能会带来编译异常。
使用Visual Studio 2010(无SP1)可能会因为无法与.Net Framework兼容而报编译错误,此时增加SP1更新包即可解决问题
硬件平台
(以下任选其一)
- Slamware SDP mini
- Slamware 套装 (基于Slamware导航方案的用户机器人系统)
- Apollo/Ares/Athena等底盘系统
编译运行
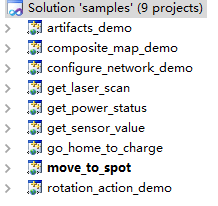
- 打开samples工程,右键move_to_spot, 将此工程设置成StartUp project
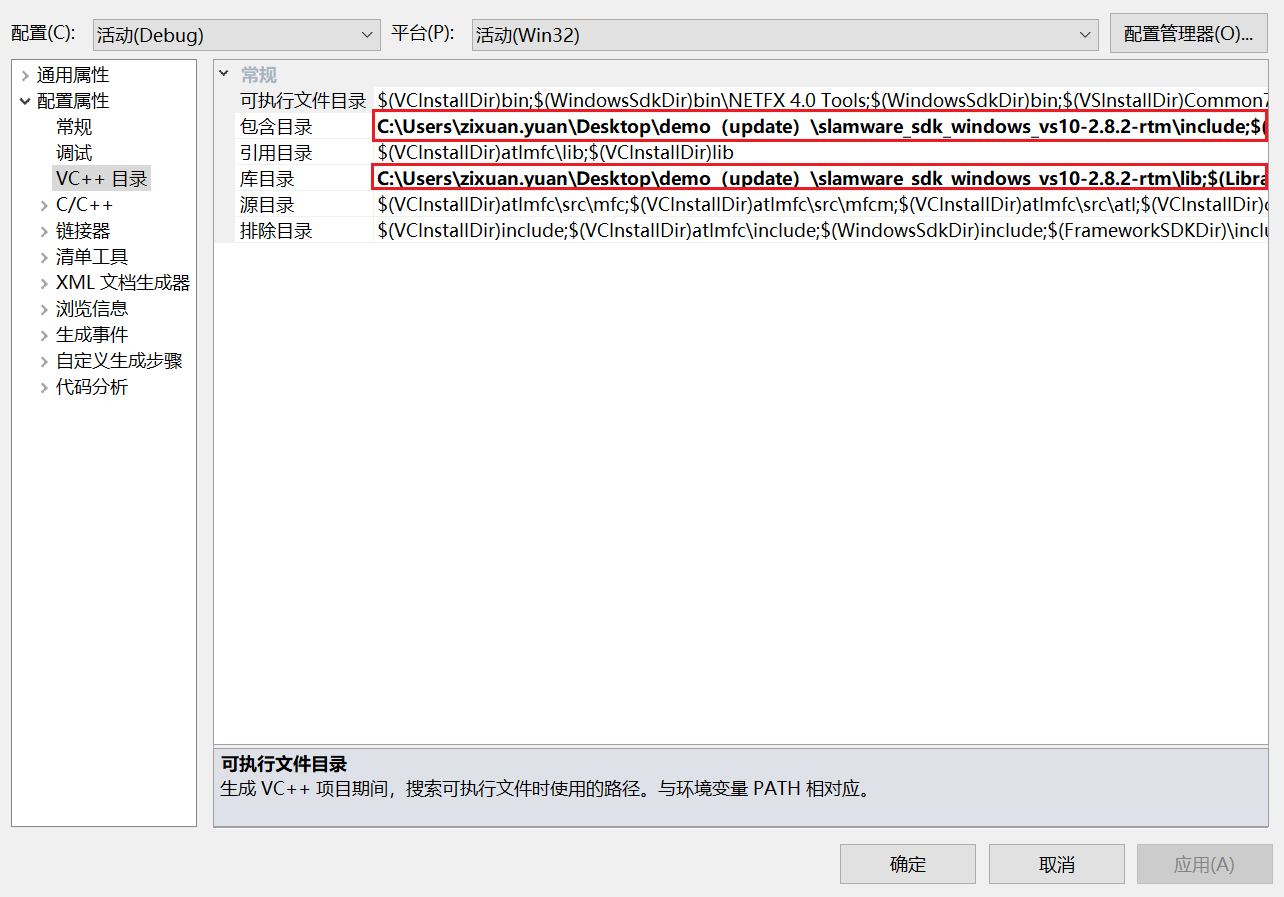
右键move_to_spot, 打开属性选项,将Slamware SDK 的include目录和lib目录添加到工程
Slamware SDK的include和lib目录无需复制到参考例程目录,只需在Visual Studio里指定路径即可。
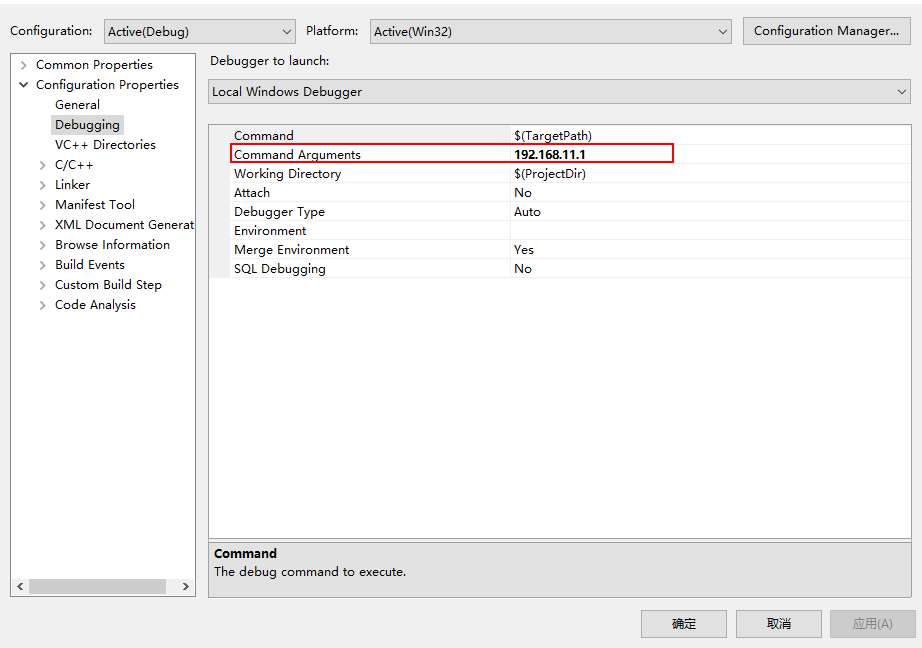
- 右键move_to_spot, 在Debugging页面中command Arguments处输入 192.168.11.1
格式说明: move_to_spot <IP address> - 点击F5运行
- 可以连上Robostudio查看地图及机器人的运动
代码描述
机器人导航运动到目标点(2, 0) ,期间遇到障碍物会自主避障,然后从(2,0) 沿虚拟轨道运动到目标点(0, 0)
导航到目标点SlamwareCorePlatform sdp = SlamwareCorePlatform::connect(argv[1], 1445); std::cout <<"SDK Version: " << sdp.getSDKVersion() << std::endl; std::cout <<"SDP Version: " << sdp.getSDPVersion() << std::endl; rpos::actions::MoveAction action = sdp.getCurrentAction(); if (action) action.cancel(); //move to location (2, 0), not on virtual track rpos::features::motion_planner::MoveOptions options; options.flag = MoveOptionFlag(MoveOptionFlagMilestone | MoveOptionFlagPrecise); action = sdp.moveTo(rpos::core::Location(2, 0), options); action.waitUntilDone(); if (action.getStatus() == rpos::core::ActionStatusError) std::cout << "Action Failed: " << action.getReason() << std::endl; //draw a virtual track from (0, 0) to (2, 0), then move to (0, 0) via virtual track rpos::core::Line line(rpos::core::Point(0,0),rpos::core::Point(2,0)); sdp.addLine(ArtifactUsageVirtualTrack, line); options.flag = MoveOptionFlag(MoveOptionFlagKeyPoints | MoveOptionFlagPrecise); action = sdp.moveTo(rpos::core::Location(0, 0), options); action.waitUntilDone(); if (action.getStatus() == rpos::core::ActionStatusError) std::cout << "Action Failed: " << action.getReason() << std::endl;


