We provide users reference code to modify based on development needs. we have breakout of 2 versions on the market: version 3.0 and 4.0, different versions have different reference code, please pay attention when burning hex files.
| Info | ||
|---|---|---|
| ||
On border of the breakout you will see some marks, breakout 3.0 has a mark of "Ver 3.0" whereas breakout 4.0 has a mark of "Ver 4" |
| Panel | ||
|---|---|---|
| ||
Breakout 3.0 layout please click here to download. Reference code( breakout 3.0 compatible) please click here to download。 Other tools: UART-USB board x 1,DuPont line(both female)x 3,USB cable x1 |
Steps:
- Find J16 and J14 on the breakout board, remove the jumpers on J14.
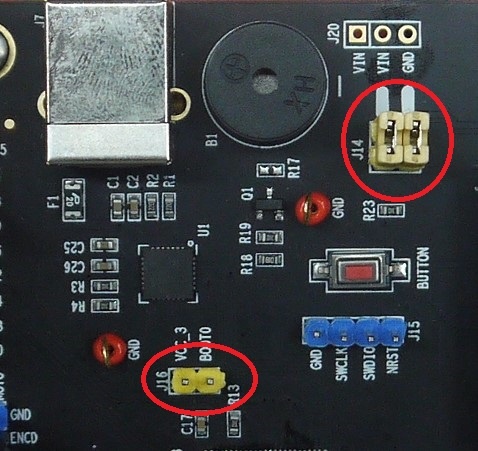
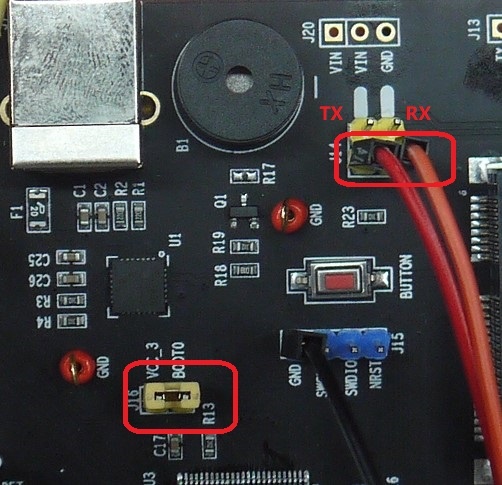
Connect GND RX TX of the uart-usb board to J14 and any GND of breakout. Short J16 with a jumper。
Warning Please turn off the power supply during the above operation, otherwise you may damage the breakout.
It's necessary to short J16 during the hex loading.
| Panel | ||
|---|---|---|
| ||
Breakout 4.0 layout please click here to download. Reference code( breakout 4.0 compatible) please click here to download. Other tools:USB Type B cable x1 |
Remind
Please select workspace:Release_breakout_v4 in IAR Interface,other project will be incompatible with breakout 4.0. the generated hex file will not be able to start the Slamware system.

Steps:
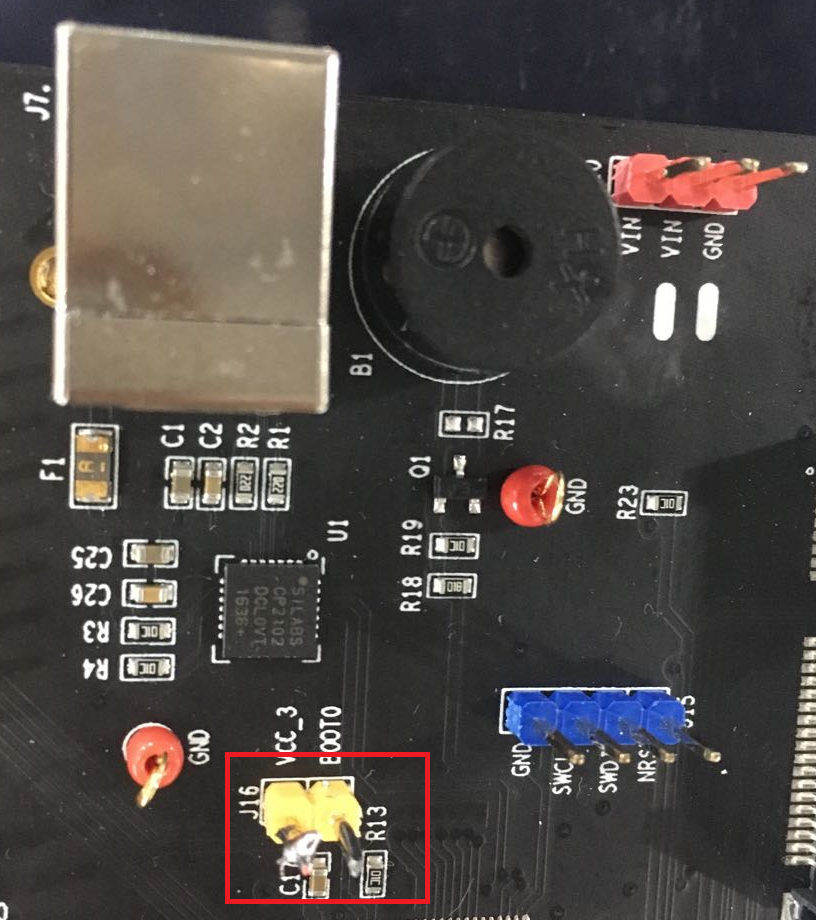
- Find J16 on the breakout, short J16 with a jumper.
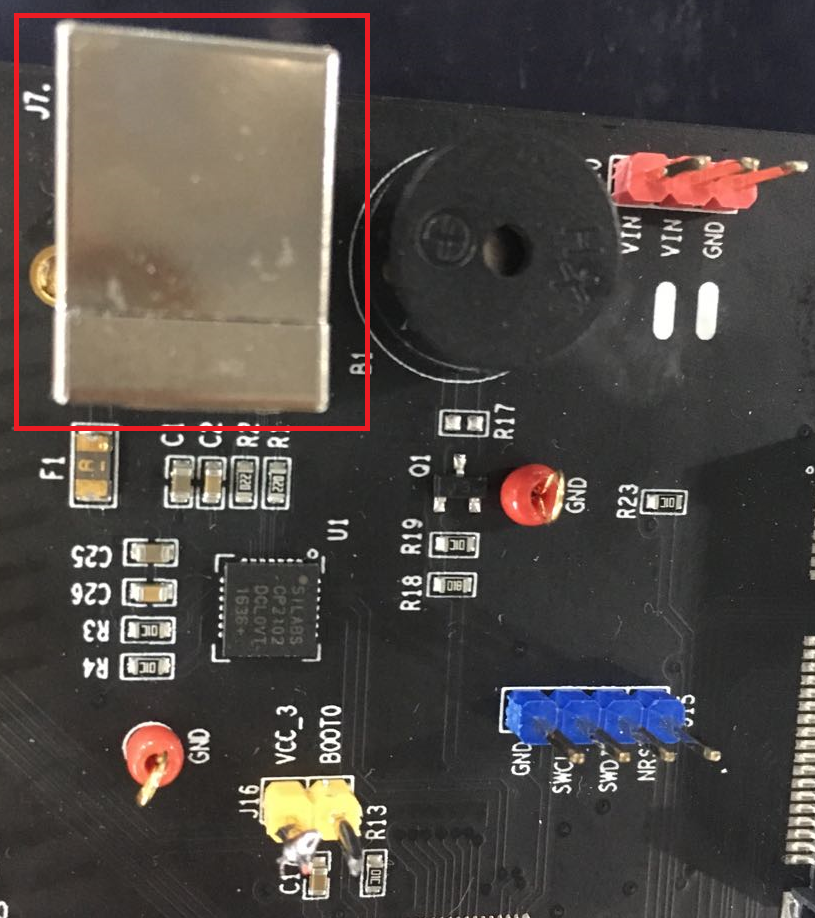
connect J7 to you PC with the USB type B cable.
Warning Please turn off the power supply during the above operation, otherwise you may damage the breakout.
It's necessary to short J16 during the hex loading.
3. Switch ON power supply, load the hex file with software like FlyMCU, set baud rate to 115200, if the file is successfully loaded, screen will show as follows: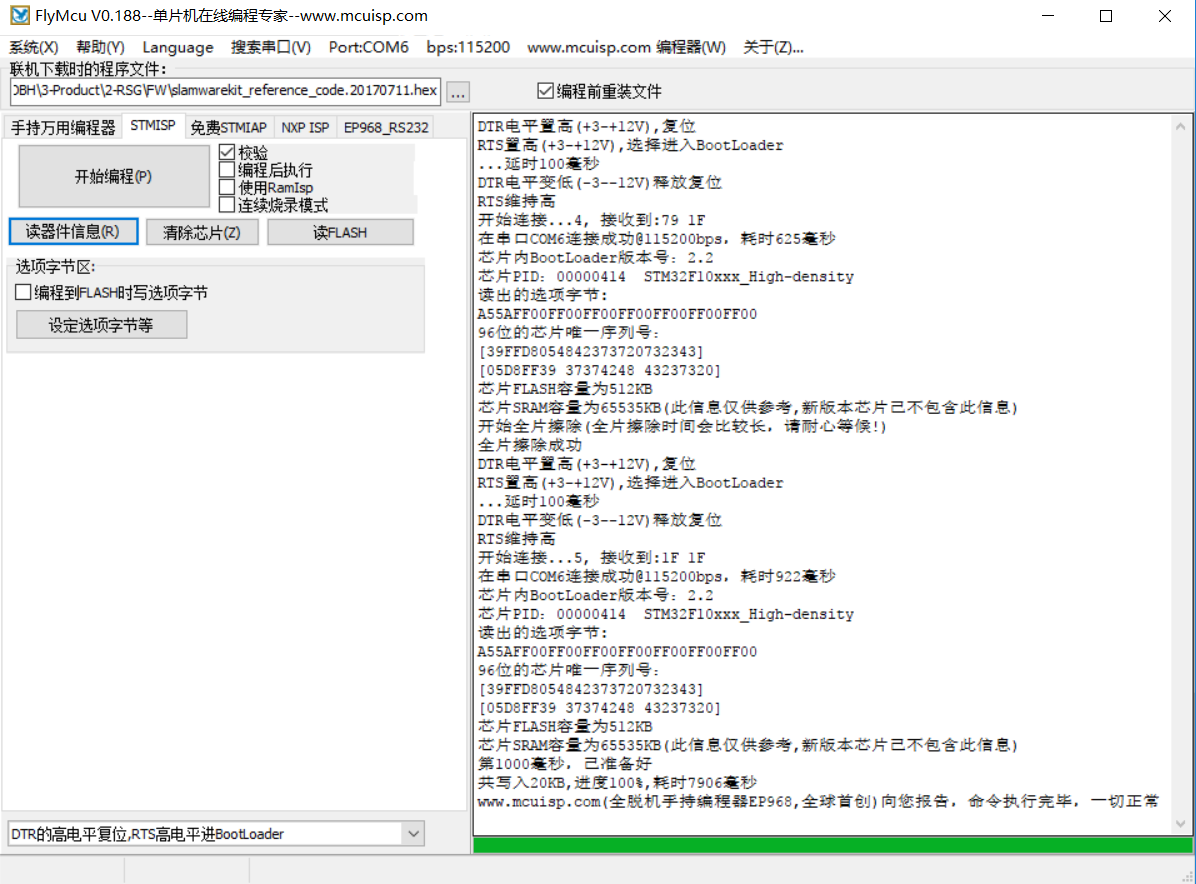
4. Switch OFF the power supply, remove the jumper of J16, reconnect jumpers of J14 if you are using breakout 3.0. Switch ON power supply again and system will run the newly-burnt program.